Chamber on Haven
Three sites means three times the ground to watch, and Chamber's kit is built specifically around the problem a lone defender faces on a map like this: Trademark converts one site into a self-monitoring trap so he can personally hold a second position, and Rendezvous lets him plant a guaranteed escape anchor before taking an aggressive angle he'd otherwise be too exposed to hold. He's a genuinely strong fit for Haven specifically because the map's long, clean sightlines — A Long, C Long, Mid Courtyard — reward exactly the kind of precision his free sidearm and Operator both threaten, in a way a shorter-range kit can't capitalize on as consistently.
Defending: Trademark on the site you're not personally anchoring
The core of playing Chamber well on a three-site map is never actually splitting your own attention across two sites — instead, place Trademark's alarm trap on whichever site you're NOT holding, and let the trap do that watching for you. Set it on C Site while you take an aggressive angle from Mid Courtyard or A Long; the alarm's slow field alone buys real time even when it doesn't secure a kill, and a triggered alarm tells your team rotation timing before anyone's even called it over comms. This is what lets a single Chamber effectively cover two-thirds of the map's defensive ground without ever being in two places. Rendezvous should be placed before you commit to the aggressive hold, not after — drop one anchor at a safe fallback point like A Garden before pushing an angle at A Long, so you have a guaranteed teleport-out the instant you're flanked rather than needing to trade your life just to retreat on foot. Don't burn the second anchor speculatively; holding it in reserve until the first is actually used means you always have an escape available when the fight actually turns against you.
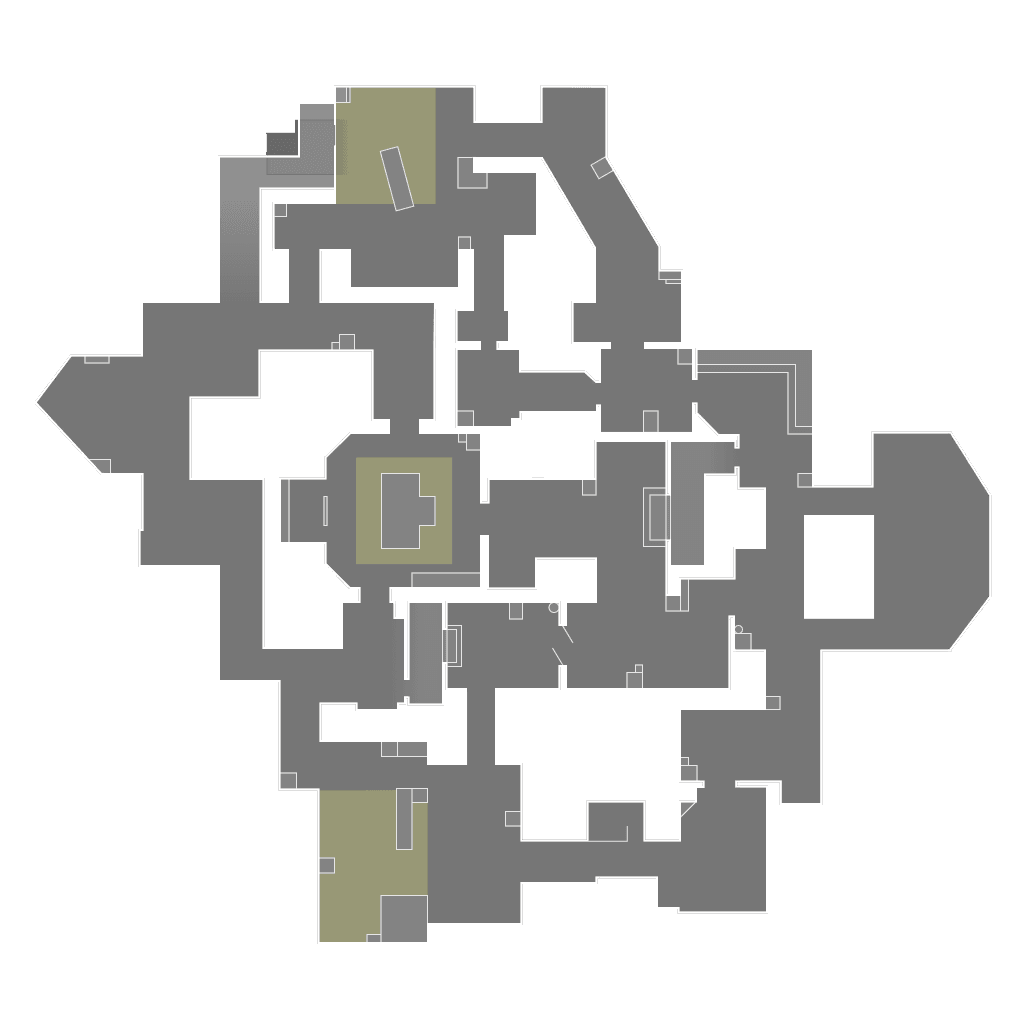
Trademark watches C Site while Chamber holds an aggressive angle at Mid Courtyard.
- 1Trademark — watches the site you're not on
- 2Aggressive hold, backed by Rendezvous
The A Long Operator angle, with a guaranteed exit
A Long is one of the longest, most exposed sightlines on the map, which makes it a prime Operator angle — but holding it without a plan for a flank means trading a very expensive weapon for a single pick, at best. Drop a Rendezvous anchor at A Garden first, then take the A Long angle; if you're flanked from Mid or pushed by more than one attacker, the anchor gives you a real retreat instead of forcing a losing fight to preserve the gun. This turns what's normally a high-risk hold into one where the downside is capped. Don't hold this angle passively every round out of habit — it's strongest when your team has communicated they're expecting an A-side push, so the information from a confirmed kill or a forced retreat actually feeds a coordinated response rather than being an isolated duel.
Rendezvous anchor at A Garden backs an aggressive Operator hold at A Long.
- 1Guaranteed teleport escape route
Retake: Trademark and the sidearm on a stacked crossfire
On a retake, drop Trademark on the exact spot the attackers are most likely holding their post-plant crossfire from — the alarm's slow effect denies them the ability to freely reposition as your team pushes in, which is often enough to break a stack that would otherwise win the retake through numbers alone. Chamber's headhunter sidearm rewards a controlled, precise re-entry over a rushed one — take the fight at range where the pistol's accuracy advantage matters, rather than closing distance into a defender's more forgiving close-range weapon.
Economy: the Operator is not a default buy
Chamber's free headstart sidearm makes early rounds tempting to buy an Operator on regardless of team economy, but the underlying doctrine still applies — a lost Operator round on a full 3900+ credit buy is a worse economic hole than a disciplined half-buy or team save, especially since the sidearm already provides real pickoff power without the full Op price attached. Reserve the Operator purchase for rounds where your team has genuine utility support behind the angle you're holding; an Operator with no flash or smoke cover is a coin-flip duel, not a guaranteed advantage, and losing that duel is a much larger economic swing than losing a rifle round. The recurring mistake to watch for: buying the Operator on autopilot every round you can afford it, regardless of whether the map read supports holding an aggressive angle that round. If the last two rounds showed the enemy team rushing as a five-stack, that's the signal to hold utility-supported chokepoints instead, not a long-range duel angle.
This is generic.
Want it for your own games? Enter your Riot ID and your coach will review your actual matches on Haven— not just the general playbook.
Enter your Riot ID