Cypher on Ascent
Ascent's Mid gives attackers three genuinely distinct routes into either site — Mid Top feeding toward A, Mid Bottom feeding toward B, or a full split that pressures both — which makes Cypher's information kit more valuable here than on a map with one obvious choke, because a defense genuinely can't know which flank to prioritize watching without help. Play him as the map's information layer rather than a pure damage-dealer: trapwires and Spycam only pay off if the information they generate actually changes what your team does next, which means a Cypher who sets utility and then tunnels on his own angle without checking triggers is giving up most of what makes the kit strong.
Defending A: trapwire across A Main, Spycam on the Mid Market flank
Stretch a trapwire across A Main at head height — this is the primary, most heavily-used attacking route into A, and a triggered wire either does serious damage to the point player outright or forces the entire push to stop and reroute, losing tempo that's often worth more than the direct damage. Place the Spycam with sightline across A Site or the A Main approach so you can watch for a flank rotation through Mid Market while anchored on a different angle yourself — check it on a rotation between other tasks rather than tunneling on the feed continuously, since staring at the camera means losing the sound cues and peripheral awareness that catch a closer threat. The trapwire and Spycam together are meant to cover different threats — the wire punishes a direct, committed push, the camera catches the flank a defense focused purely on the obvious door would otherwise miss entirely.
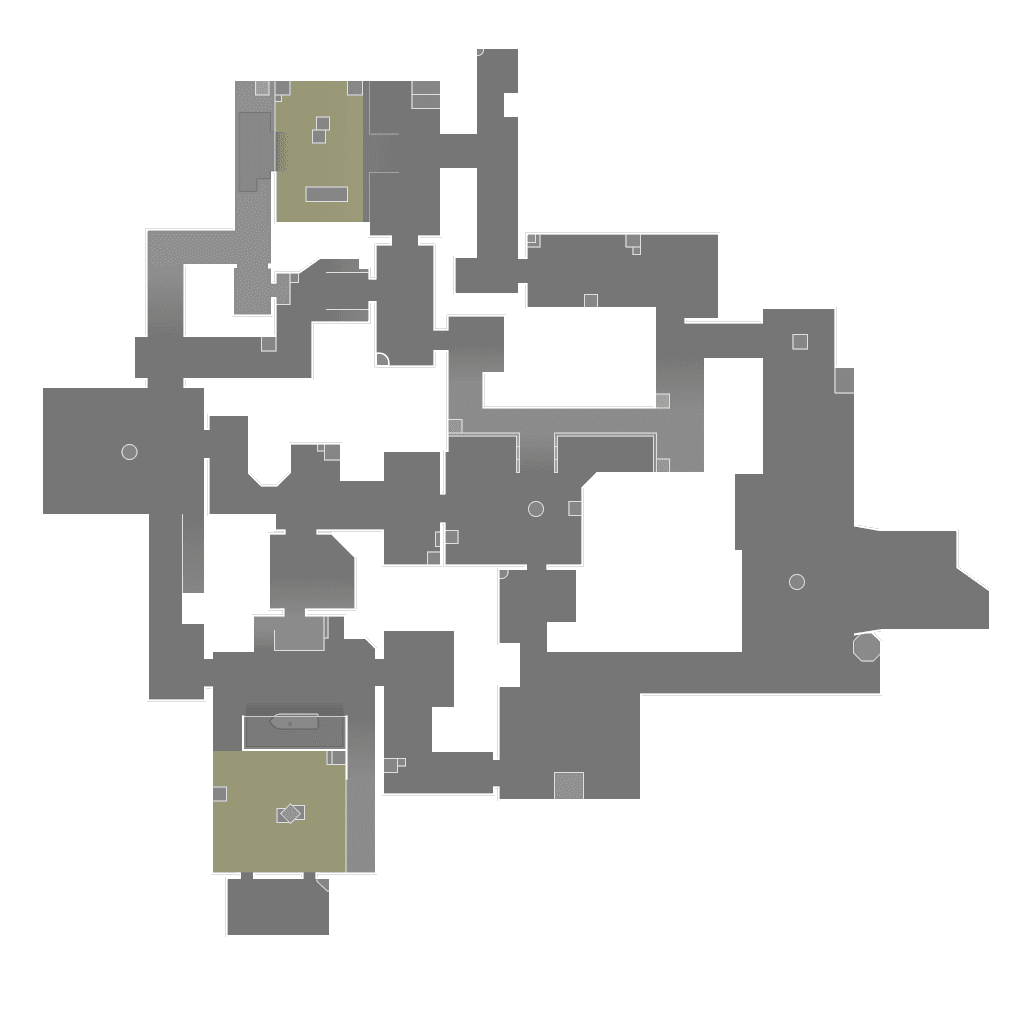
Trapwire across A Main; Spycam watches for the Mid Market flank.
- 1Trapwire — punishes the direct push
- 2Spycam — catches the Mid Market flank
Defending B: trapwire the choke, camera on the Mid Link crossover
B Main is a narrower choke than A Main, which makes a trapwire placed there even more reliably triggered — anyone pushing B without first clearing it walks directly into the punish. Because B Site also connects to Mid via Mid Link, a Spycam angled to catch that crossover gives the same flank-detection value the A-side camera provides, covering the one route into B that isn't the obvious front door. Cypher's own body should hold neither of these angles directly at first contact — let the wire and camera do the initial detection work, and commit to a fight only once you know which threat is actually real.
Trapwire across B Main; Spycam covers the Mid Link crossover into B.
- 1Trapwire — the narrow primary choke
- 2Spycam — the B-side crossover flank
Retake: Cyber Cage over information, and the trapwire trigger IS the call
Save Cyber Cage for the moment your team actually needs to retake a lost site rather than the initial defense — the cage's vision-block-plus-slow combination is what lets a team push back into a site the attackers already control, since it denies exactly the crossfire setup post-plant defenders rely on. Popping it early during the initial hold trades a genuinely retake-winning tool for an information edge the trapwire and Spycam were already providing for free. The single most common Cypher mistake isn't placement, it's ignoring the payoff once it happens — a triggered trapwire means bodies are committing to that site right now, and that information is worthless three rounds later if it isn't called and acted on immediately. A trapwire that gets walked through with no team reaction has cost 200 credits for nothing.
Economy and utility retrieval
Cypher's kit is durable within a round (the trapwire and camera persist until destroyed or the round ends) but is fully lost between rounds unless retrieved, which creates a real economic tension: walking across the map post-round to pick up a trapwire saves money next round but costs time and exposes a path pattern an opponent can eventually punish. On rounds where the utility is cheap to simply rebuy, prioritize staying safe and repositioning over the retrieval walk; save the retrieval habit for economically tight rounds where the 200-300 credits genuinely matter to the team's next buy. Neural Theft, his ultimate, is a informational tool best used on a body your team has already secured, ideally the last kill of the round or a clear pick with no immediate follow-up danger — using it exposes Cypher's own position while he's rooted in place decrypting the corpse, so it should never be the first action taken after a risky engagement.
This is generic.
Want it for your own games? Enter your Riot ID and your coach will review your actual matches on Ascent— not just the general playbook.
Enter your Riot ID