Jett on Bind
Bind has no mid, which means every round is a commitment to one side plus two one-way teleporters that let a single player rewrite the map — and Jett is the agent who can make that commitment survivable, because her Cloudbursts cut the long sightlines (A Short into A Lamps, B Long into B Elbow) and Tailwind/Updraft give her an exit from Operator angles no other duelist gets. Play her as the tempo-setter on attack and the Op-holder on defense, and remember the post-7.04 reality: Tailwind has a 1-second windup and only a 7.5-second activation window, so the dash has to be armed before the fight, never as a panic button after you're already tagged.
Attacking A: Cloudburst A Lamps first, then take space you can actually hold
The A Short entry dies to the same two angles every time: the defender tucked in A Lamps and the one holding down from A Tower. Your two Cloudbursts should solve both before anyone steps out — curve one onto A Lamps so it hugs the wall the defender is holding from, and place the second so it blinds the A Tower line into A Short rather than throwing it flat onto site where it does nothing after 2.5 seconds. Then arm Tailwind, wait for the smoke to bloom, and dash to A Cubby, not deep into open site. Cubby is the position your teammates can trade you from; the middle of A Site is where you go to die alone. The doctrine here is unforgiving: an opening kill in A Short that isn't traded and doesn't convert into a plant is one-for-one at best. If you dash, get a kill on the A Lamps player, and then die to A Tower with your team still in A Lobby, that's not a good round for you — that's a 4v4 with your Cloudbursts spent and your Updraft gone. Save Updraft for the plant, not the entry: floating over the A Site boxes to bait the retake peek from A Link is worth more than a fancy repeek.
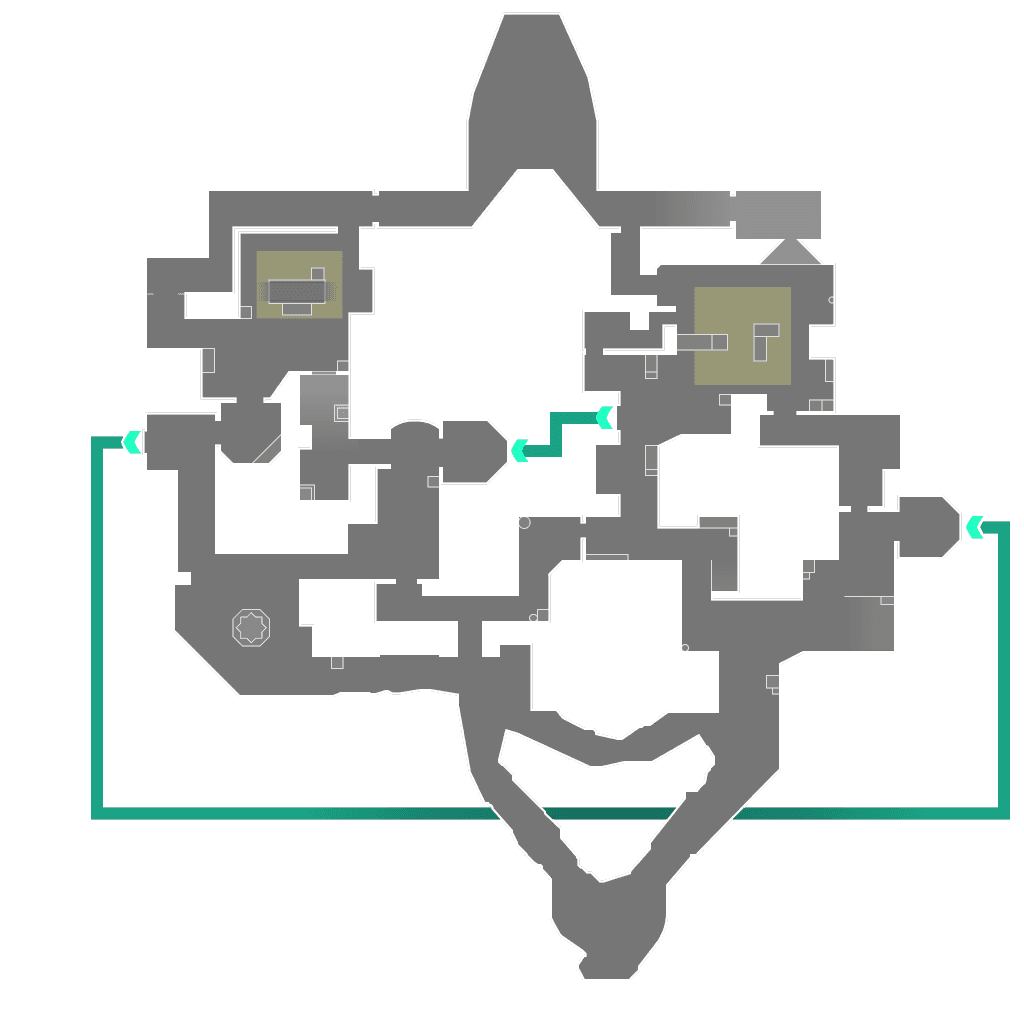
Standard A execute: smoke A Lamps and the A Tower line, dash to A Cubby, and trade from there instead of running open site.
- 1Jett entry route — dash ends at Cubby, not site center
- 2Cloudburst #1 — the close angle that kills entries
- 3Cloudburst #2 — the angle that punishes an untraded dash
The A Teleporter is a weapon, not a shortcut
Every Jett in ranked dashes into the A Teleporter the moment they hear a rotate, and every defender in ranked has learned to pre-aim B Exit and B Window on the chime. The teleporter announces you to both halves of the map, so only take it when the noise itself is doing work. Two uses that actually pay: as a scripted split, where your team is loud in B Long and B Garden and you arrive out of B Exit into B Window with a Cloudburst already thrown at B Elbow so the defender watching Long can't turn on you; or as a false rotate at 25-30 seconds on the clock, where you TP, spray a wall, and TP back while four teammates commit to A Short. What doesn't work is the solo lurk through A Teleporter with no timing agreement — that's an isolated first death in an off-angle position, and it puts your team into a 4v5 execute with their duelist gone. If you go, arm Tailwind before you take the pad so the dash is live the instant you land, and use Updraft at B Fountain only when you need the jiggle over cover; on a landing peek it just floats you into the crosshair of whoever heard the teleporter.
The teleporter split: your team pressures B Long while you arrive from A Short and smoke B Elbow before stepping out.
- 1Jett split route through the teleporter
- 2Cloudburst before you step out of B Exit
- 3Teammate pressure that makes the TP noise ambiguous
Defending: Operator angles with a pre-planned exit
Jett defends Bind by taking one long shot and leaving, and Bind gives you exactly two worth taking. On B, hold the B Long line from deep B Site with Tailwind already armed — hit or miss, the dash goes back toward B Hall, not sideways into B Elbow where the second attacker's flash lands. On A, hold A Short from behind the site boxes with A Lamps as your fallback pocket; if the angle gets flashed, Updraft over the boxes only if you've already given up the Op shot, because you cannot fire accurately mid-air. Two habits separate a good Bind Jett from a frustrating one. First, don't burn both Cloudbursts pre-round making a one-way in B Elbow. Bind sites are small and the retake through B Hall is genuinely winnable, but only if you still have a smoke to isolate the plant from B Window when you come back with your teammates — utility saved for the retake beats utility spent on an angle you were going to give up anyway. Second, if you take the Op onto A Short and the round dies, you owe the team a rotate through A Link, not a 1v3 heroics attempt from A Cubby.
B Long Operator hold from B Site with a pre-armed dash back toward B Hall — take the shot, then leave.
- 1Op position — deep, with cover behind you
- 2The shot you're holding for
- 3Dash exit after the shot lands or misses
- 4Where Jetts die repeeking instead of leaving
Post-plant on B: two crossfires, and knives that cover the third
After a B plant, the retake comes from B Hall and B Link, and the pattern that loses rounds is all four attackers stacked behind the same crate staring at one door. Split it: one player deep by B Fountain watching B Hall, one holding the B Elbow line back toward B Long in case of a flank out of B Garden, and Jett floating between them with Blade Storm up. Knives are exceptional here specifically because B Site's retake paths are narrow and close — a single knife into a B Link push is a headshot at that range, and each kill recharges the set. Alt-fire the full set only into an already-damaged retaker you can't afford to lose, since it won't recharge. Save your last Cloudburst for the moment the spike hits 10 seconds: dropping it between B Site and B Hall doesn't need to block the retake, it just needs to buy the four seconds the defuse can't finish inside. If your team keeps dying to the same B Link angle three rounds in a row, that's a setup problem — move one body to B Short and make them clear two positions instead of one.
Post-plant B: crossfires on B Hall and B Elbow, Jett central with Blade Storm and one Cloudburst held for the 10-second mark.
- 1Plant area — spread, don't stack
- 2Primary retake path — one player deep near B Fountain covers it
- 3Second retake angle — knife it, don't rifle-duel it
- 4Flank the stacked-crate setup never checks
Economy and the three mistakes that actually lose you Bind
Mistake one: buying the Operator on a 3,000-credit half-buy. That's the trap force the doctrine warns about — you're now a 4,700-credit liability with no Cloudbursts, and if you die on the A Short angle without trading a rifle, your team eats two eco rounds instead of one. Op on bonus rounds (round 2 after a won pistol, round 14 after a won round 13) or on a genuine full buy; otherwise take a Spectre and play B Long trades. Mistake two: anti-eco complacency. A broke enemy team on Bind buys Sheriffs and sends someone through the B Teleporter into A Exit and A Bath to hit your back while you group at A Short. Play spread with a body watching A Bath, and don't let your Jett instincts turn a 5v5 anti-eco into a dash into three light-armor pistols. Mistake three, and this is the one that's actually costing you rounds: dashing after you've already taken damage. The 1-second Tailwind windup means the escape has to be armed before you peek, and the 7.5-second window means arming it in A Lobby and then walking A Short slowly wastes it entirely. Arm it, then commit within the window or re-arm — a dash you activated and never spent is a free ability the enemy never had to respect.
This is generic.
Want it for your own games? Enter your Riot ID and your coach will review your actual matches on Bind— not just the general playbook.
Enter your Riot ID