Killjoy on Ascent
Ascent's two sites sit far enough apart, and its approach lanes (A Main, B Main, both branches of Mid) are long enough, that a Killjoy setup has to genuinely commit to a site rather than half-cover two — and that commitment pays off because her kit is the one sentinel toolkit built entirely around automated, always-watching information. Turret and Alarmbot do the job a human watching the same angle would need constant attention to do, which frees Killjoy herself to hold an aggressive off-angle or rotate late and still trust the site isn't already lost when she gets there. The kit rewards pre-placement discipline above everything else: Turret and Nanoswarm both do far more work planted before the round's first contact than dropped reactively once footsteps are already audible, because their value is the surprise information/damage they provide on an attacker who doesn't know they're walking into them.
Defending A: Turret on A Main, Nanoswarm pre-placed on the plant zone
A Main is Ascent's longest, most heavily-trafficked approach to A Site, which makes it the single best sightline on the map for a Turret — tuck it near the A Site entrance with a clean line down A Main, and its alert-plus-damage buys the reaction window a human holding the identical angle would need to consciously flick onto. This is a set-and-forget placement: once it's down and armed, it's actively watching the choke every second you're not, which is exactly the coverage a lone sentinel needs on a two-site map where you can't be in two places. Pre-place a Nanoswarm directly on Ascent's most common A Site plant zone rather than on the approach lane — attackers have to physically stand in it to plant, which either costs them health during the plant animation itself or forces them to burn a flash/smoke just to clear it first, both of which weaken the post-plant fight your team then walks into. Alarmbot is your flank-denial tool for this same site — set it toward Mid Link or A Garden, the two routes a rotating or flanking attacker would use to hit you from an angle the Turret doesn't cover.
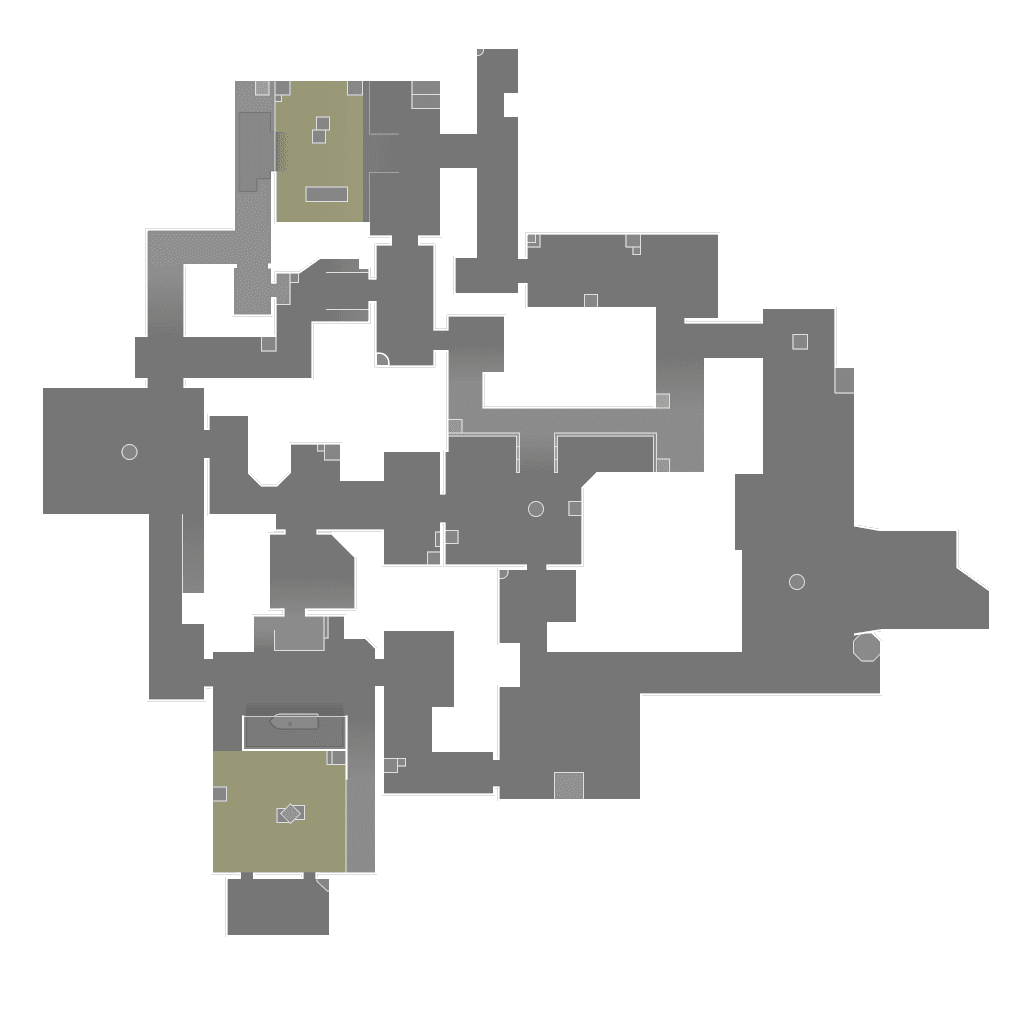
Turret watches A Main; Nanoswarm pre-placed on the A Site plant zone.
- 1Turret — the longest sightline on the map
- 2Nanoswarm — pre-placed on the plant zone
Defending B: Turret on B Main, Alarmbot for the Mid Catwalk flank
B is the shorter site to reach from spawn but has more real entry options than A — a direct B Main push, and a flank rotation through Mid that comes out via Mid Catwalk into the back of the site. Place the Turret with sightline down B Main from a covered position inside B Site; this is still the primary, most-committed approach and deserves the same automated coverage A Main gets. One Turret can't watch two approaches simultaneously, so treat Mid Catwalk as an Alarmbot placement instead — the slow-and-reveal effect on anyone triggering it is enough warning to reposition or call the flank to your team before they're already on top of you. Because B Site is more enclosed than A, a Turret placed too far forward gets spotted and destroyed before it earns its value — tuck it into cover near the entrance rather than in the open, so an attacker has to already be past the choke and looking directly at it to shoot it out.
Turret watches B Main; Alarmbot covers the Mid Catwalk flank.
- 1Turret — the primary approach
- 2Alarmbot — the flank the turret can't cover
Retake and Lockdown: use the ultimate to force a fight on your terms
Lockdown is a delayed-detonation area-denial ultimate — it takes real time to activate and gives the enemy team a chance to leave its radius before it forces them out, which means it's a setup tool, not a panic button. The strongest use is on a retake: throw it onto a site the attackers already control so the detonation timer forces them to either commit to a fight in the open or abandon the site and give your team a clean re-entry, ideally timed so it lands while their own flash/smoke utility is already spent from the initial execute. A saved Nanoswarm or Alarmbot works the same way at a smaller scale — dropping either mid-defuse or mid-retake denies the exact spot the attackers are using to hold their post-plant crossfire, and forces them to reposition on a clock they don't control.
The Ascent-specific mistake: dying to retrieve utility
Killjoy's kit is only worth its purchase price if it survives the round it's placed in and does its job — walking back into a site that's actively being lost to grab a Turret before it dies is one of the most common ways a Killjoy turns a clean 1-for-0 loss into a 1-for-1 or worse. If a site is falling and the utility is going to die regardless of what you do, let it die; keeping your own life and rotating with your kit already spent is a better trade every time than dying to save equipment that's repurchased next round anyway. The same principle applies to Lockdown: don't hold it back so long waiting for a flawless multi-kill setup that you never actually use it in a round where it would have won a retake outright. A merely-good Lockdown used is worth more than a theoretically-perfect one saved forever.
Economy and buy discipline
Killjoy's utility (Turret, Alarmbot, Nanoswarm) is durable and reusable within a round in a way flash/smoke utility isn't, which makes her a strong pick to keep buying fully even into a slightly tighter economy — the information and area denial her kit provides doesn't degrade the way a lost duelist's aim advantage does on a worse gun. On a team eco or half-buy round, her setup still functions at close to full strength, which is a real argument for prioritizing her utility purchase over a marginal weapon upgrade. The recurring mistake worth calling out explicitly: buying and placing utility on autopilot every round without adjusting for what the attackers showed last round. If the last three A executes all came through A Main specifically, that's the signal to double down on the Turret placement there rather than splitting attention defensively 'just in case.'
This is generic.
Want it for your own games? Enter your Riot ID and your coach will review your actual matches on Ascent— not just the general playbook.
Enter your Riot ID