Raze on Split
Split is the most vertical map in competitive rotation, with tight, elevated chokes guarding every site — A Ramps and A Screens on one side, B Alley and B Garage on the other — which makes it a natural fit for Raze's forced-space kit. Boom Bot and Blast Pack aren't just damage tools here, they're how a single player clears the corners and elevated off-angles (A Rafters, B Tower) that would otherwise need a full team's coordinated utility to check safely. She's an opener on this map, not a site-holder: her job is to remove the angle before the fight, then let the rest of the team capitalize on the space she's created.
A Site: Boom Bot down A Main, Blast Pack onto Ramps for an elevated entry
Send the Boom Bot down A Main ahead of your team's push — its bark on detection reveals a defender holding the choke before your entry is exposed to them, and a direct hit removes the angle from the round entirely. Use Blast Pack to launch onto A Ramps for an elevated line into site rather than walking the ground-level route every defender expects; landing above the sightlines held from inside A Site itself flips who has the information and positioning advantage in the critical first half-second of the entry. Save Showstopper for a confirmed, stacked read rather than a guess — it's the single highest-value round-winning tool in her kit when you know bodies are grouped in Screens or on site itself, from a Recon Bolt, a Cypher cam, or simple round-to-round pattern reading, and a largely wasted cooldown-reset resource when fired blind into an empty room.
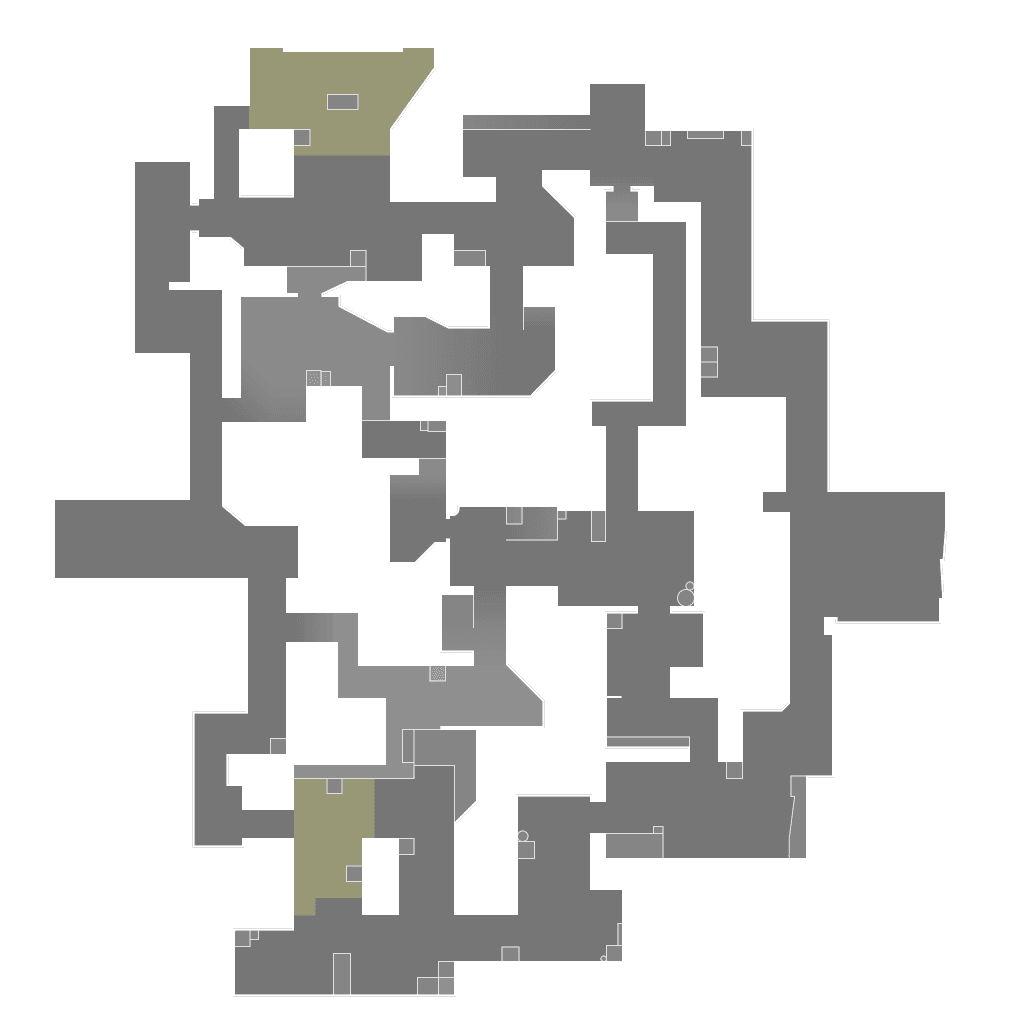
Boom Bot scouts A Main; Blast Pack launches an elevated entry from A Ramps.
- 1Boom Bot — scouts the choke before entry
- 2Blast Pack — elevated entry line
B Site: clear B Tower before anyone commits to Alley
B Tower is the single most punishing off-angle on this half of the map — a defender holding it can pick off an entire entry before your team has even seen B Site itself, which makes checking it non-negotiable before committing bodies through B Alley. Route the Boom Bot up through Alley toward Tower specifically rather than straight into site; even without a kill, the bark alone tells your team whether the angle is clear or contested, which is exactly the read needed before spending Blast Packs and lives on the push. Because B Site is more enclosed than A once you're past the choke, a cleared Tower matters more than it would on a more open site — the follow-up entry has fewer places left to be surprised from once that one angle is confirmed safe.
Boom Bot routed toward B Tower via B Alley before the entry commits.
- 1The angle that has to be checked first
The Split-specific death pattern: elevated off-angles, not aim
Both sites on this map share exactly one elevated off-angle apiece (A Rafters, B Tower) that wins the opening duel before it fairly starts if left unchecked — this is the map's single most repeatable cause of a lost entry, and it's a positioning and utility-usage problem, not an aim problem. If a team is consistently taking first deaths from the same spot round after round on Split, the fix is 'check the high ground with utility before the entry,' not 'the entry fragger needs to aim better' — no amount of individual skill reliably wins a blind duel against a pre-aimed defender holding a favorable elevation.
Post-plant: Paint Shells denies the retake lane
Paint Shells' cluster grenades cover a wide area with lingering damage, which makes them a strong post-plant tool thrown onto the primary retake lane (A Main for A, B Alley for B) — anyone pushing through has to either eat sustained damage or take a slower, more exposed alternate route, buying your team's holders time to reposition or reload. This is a better use of the ability than spending it during the initial execute in most cases, since the execute already has Boom Bot and Blast Pack doing the space-clearing work, while post-plant is where Raze otherwise has the least remaining utility to hold a lane alone.
Economy and the core Raze mistake
Raze's utility is inexpensive relative to a full duelist loadout and reusable in the sense that Boom Bot and Blast Pack both work on a half-buy just as well as a full buy, which means she stays functional even coming off an eco round — don't sacrifice her utility purchase to stretch for a rifle you can't fully support with armor. The recurring mistake to watch for is using Blast Pack purely for movement flair rather than as a genuine entry tool with a purpose — a Blast Pack that repositions you into the open with no plan for the angle you're now exposed to is a wasted cooldown, not an aggressive play.
This is generic.
Want it for your own games? Enter your Riot ID and your coach will review your actual matches on Split— not just the general playbook.
Enter your Riot ID