Sova on Bind
Bind has no mid and two one-way teleporters, which makes reading which side an attack is actually committing to — not just where bodies currently are — the single most valuable piece of information on the map, and that's precisely the gap Sova's kit exists to close. Recon Bolt bounced through a wall reveals not just players but genuine intent: a confirmed rotation through the A Teleporter tells your team to stack A a full several seconds before footsteps or comms would otherwise give it away. Shock Dart punishes the map's defining feature directly — both teleporters force anyone using them to walk out of a single, fixed doorway with zero peek options, which is the most reliable pre-aim target on the entire map.
Attacking A: Recon Bolt off the A Lamps wall before committing
Bounce the Recon Bolt off the wall near A Lamps so its flight path reveals sightline down A Short — this exposes anyone entering from A Lobby before they've even reached the choke, giving your team a genuine read on whether A is a real execute or a fake before rotations or utility get committed. An empty read is information too: if the bolt reveals nothing, that's a strong signal the attack is routing through the A Teleporter instead of the ground route, and the correct call is to shift pressure or prepare for a B rotation rather than waiting for visual confirmation that never comes. Owl Drone is the complementary read for the same push — fly it down A Lobby toward A Short ahead of your team's entry, since even a single tag on a defender tells your entry exactly which side of the choke to clear first, turning what would be a blind peek into a pre-aimed one. Don't spend the whole drone flight on a single angle if the first half shows nothing; the back half of the flight can still tag a defender mid-fight and flip a trade your team was about to lose.
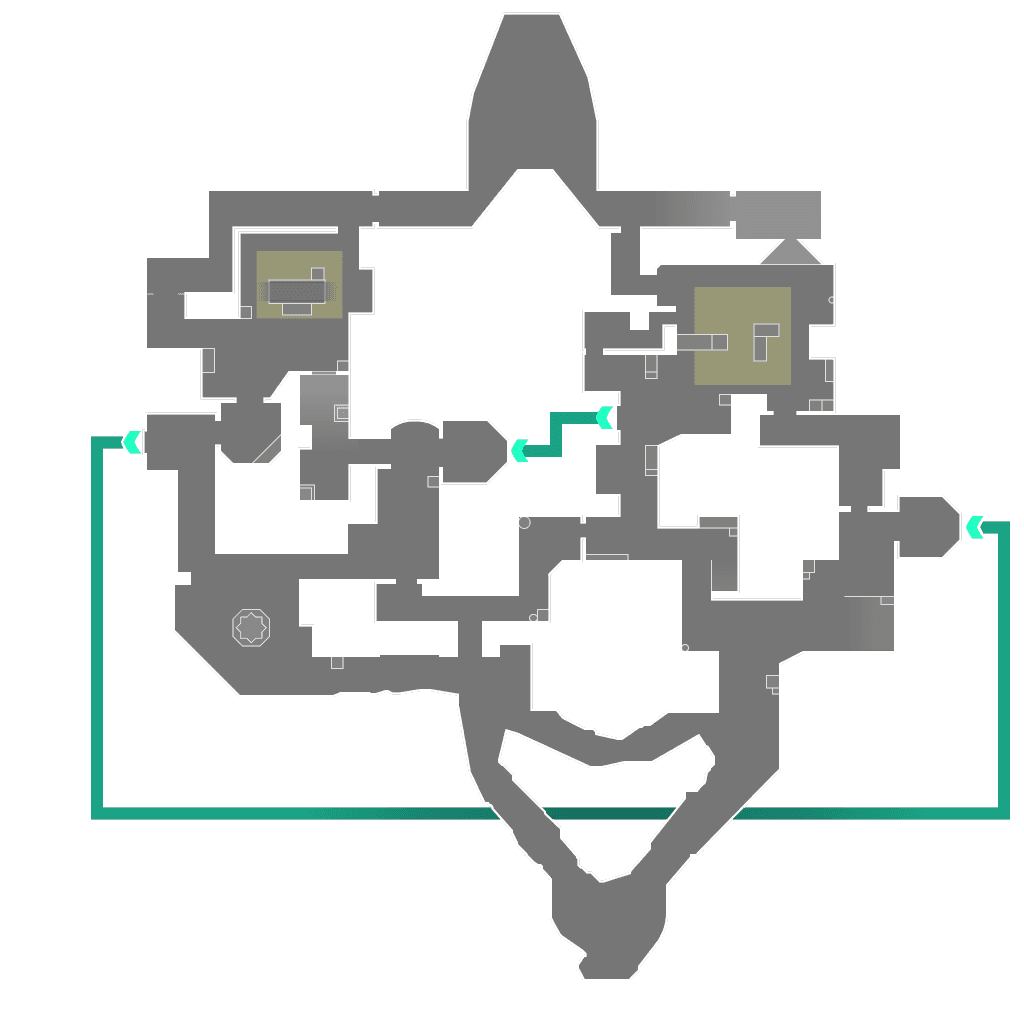
Recon Bolt bounced off the A Lamps wall reveals the A Short entry.
- 1Recon read before committing
Attacking/defending the Teleporters: Shock Dart the exit, not the door
Both teleporters share the same exploitable property — the exit point never moves, and whoever uses it has zero ability to peek-check before stepping out. This makes the B Teleporter exit the single most reliable pre-aim Shock Dart target on the map: throw it the instant you hear the teleporter's activation sound, not after seeing a body, since the dart's arm time means a reactive throw lands after the attacker has already cleared the doorway and the value is gone. This read works from either B Long or B Short as your holding position, because the dart doesn't require a sightline to the exit itself, only that it lands near it. On defense, the same logic applies to denying the A Teleporter as an escape or flank route for attackers who've pushed too far — a Shock Dart timed to the teleporter's use can catch a player retreating through it just as easily as one advancing.
Shock Dart pre-thrown at the B Teleporter exit the instant it activates.
- 1Pre-thrown on the activation sound
Defending: Recon Bolt down B Long to catch a committed push
B Long is a straight, exposed lane with limited cover, which makes it an ideal Recon Bolt target when you suspect a B execute is forming — a bolt down the lane reveals the entire push at once rather than one player at a time, giving your team a full read on numbers before the fight starts. Pair this with a Shock Dart held in reserve for whichever choke (B Short, B Window) the revealed push is actually funneling through, since the recon tells you where to spend the dart rather than guessing. Sova's dart-and-bolt combination is strongest used together in sequence — recon first to confirm numbers and position, follow-up dart to punish the specific angle the recon revealed — rather than either tool used in isolation as a single-round gamble.
Ultimate and post-plant: Hunter's Fury as a retake-clearing tool
Hunter's Fury fires a set of piercing lines through walls in a chosen direction, which makes it a strong tool for clearing a retake lane you know the enemy is stacked on — aim it down the corridor attackers are using to hold a post-plant crossfire, since the line damage goes through the same cover that would otherwise force your team into a blind, contested re-entry. It rewards a confirmed read (a Recon Bolt or callout confirming stacked positions) more than a guess; firing it into an empty lane wastes the round's strongest area tool for zero return. On attack, the same ultimate can clear a defended plant site pre-execute if your team has confirmed defender positions, functionally replacing what would otherwise need multiple flashes and a coordinated push.
Economy and the core Sova mistake
Sova's utility is informational, not damage-focused, which means its value doesn't scale down on an eco the way a duelist's flash-into-entry kit does — a Recon Bolt or Shock Dart on a half-buy round is still worth buying, since the information it provides can save your team from a bad engagement even without the gun to fully capitalize on a read. Don't skip his utility purchase just because the round's weapon budget is tight; the read itself is often worth more than the marginal upgrade from a pistol to a cheap SMG. The single most common mistake watching Sovas lose value on Bind specifically is treating darts and bolts as pure information tools and forgetting their damage — a Shock Dart landing near a defender doesn't just reveal them, it chips their health, which changes the math on whether your team's subsequent push wins the ensuing gunfight even without a direct hit.
This is generic.
Want it for your own games? Enter your Riot ID and your coach will review your actual matches on Bind— not just the general playbook.
Enter your Riot ID