Sova on Haven
Haven is the only three-site map in the pool, which means the defense is always one man short somewhere — Sova's entire job here is finding out where, then converting that information into a committed execute before the rotate lands. Recon Bolt's cooldown went from 40s to 60s in Patch 11.08, so you now get roughly two darts per round instead of three: every arrow has to answer a question your team is actually going to act on.
The two-dart budget: open Mid, don't waste the first arrow in A Lobby
Since the 11.08 cooldown change (40s → 60s), a dart fired at 1:35 isn't back until 0:35. That kills the old Haven habit of throwing a lazy A Lobby dart on every round 'just to check.' Sequence it instead: walk out through Mid Doors with your team, and hold the first Recon until you're at the mouth of Mid Courtyard, where one bolt clears Mid Window, the C Link doorway, and the front lip of B Site in a single scan. That one arrow tells you whether B is being held by one player or two, which is the whole decision on this map. Use Owl Drone (400cr, 8 seconds, 100HP) for the short-range question instead — drone into C Garage or up C Long to tag a body, then pull it back. Patch 11.00 made the drone audibly louder and gave enemies an audio cue when it's actively watching them, so the free 8-second hover is gone; you fly in, dart a player, and leave. If Mid Courtyard gets contested and you lose the arrow, that's fine — you've still bought the info that the defense is committing bodies to mid, which means A Long or C Long is thin.
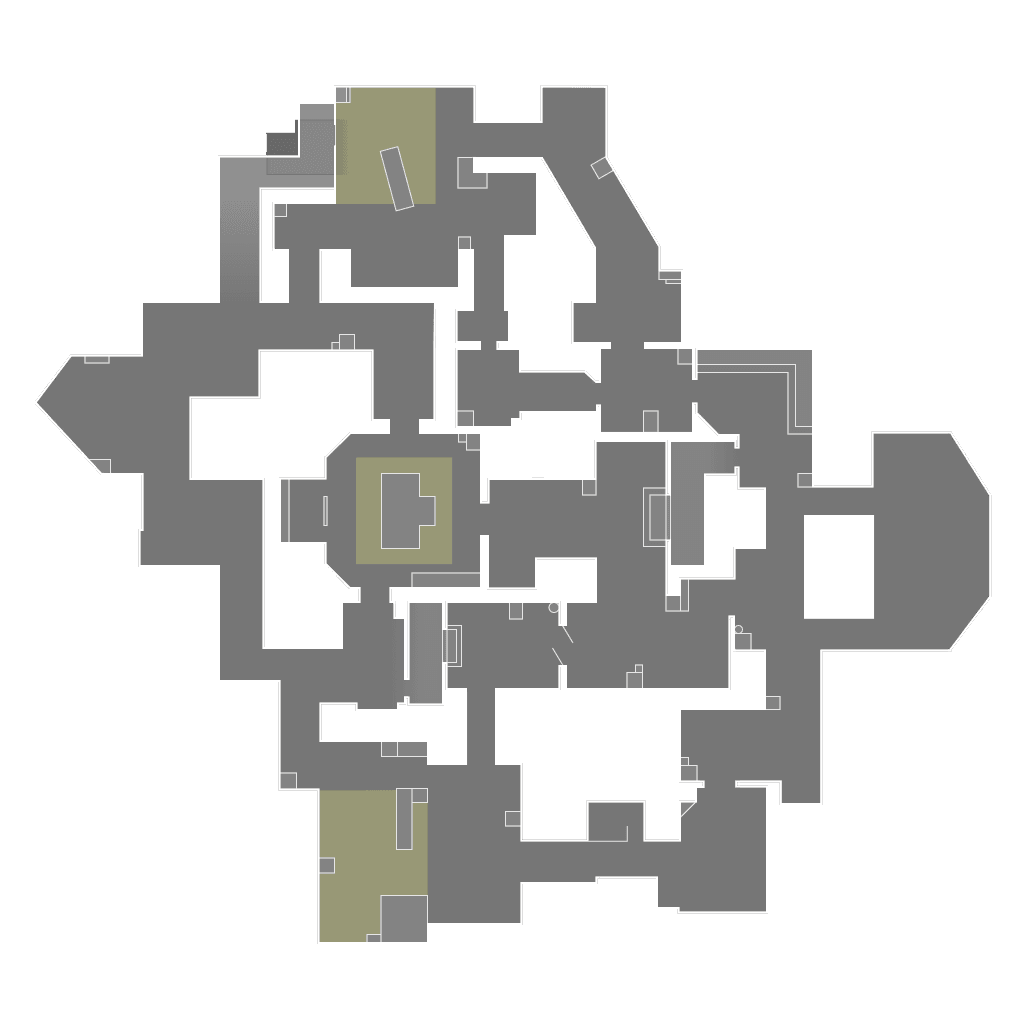
Standard attacking opener: take Mid Doors as a unit, dart from the mouth of Mid Courtyard to read B Site and Mid Window before committing.
- 1Opening mid take (first 25 seconds)
- 2Recon scan target — most common mid-take death
- 3Owl Drone tag here, then retreat the drone
A execute: utility clears the angle, then the entry walks in
The A hit on Haven fails the same way every time — the entry pushes out of A Long, and A Tower kills him before the second man is even through the doorway. That's a positioning error, not bad luck, and it's yours to fix, because you're the one holding the tools that clear it. Order matters: Shock Bolt to A Tower first (150cr per bolt, 75 damage max at the epicenter, so it won't kill — it will make a defender step off the ledge and break his crosshair placement), then a one-bounce Recon fired from the back of A Long that lands over A Site to show whether the second defender is deep near A Garden or pinched at A Link. Only then does the entry step out. The whole reason to split A Long with an A Sewer pinch is that a defender in A Tower can only pre-aim one of them. And that opening kill only counts if it's traded — Haven's A Site is wide enough that a solo entry frag followed by the entry player's own death to a rotator from A Link is a straight down-a-man, not a win. Save your second Shock Bolt for A Link, not for spam into A Site.
A execute: shock A Tower, dart over A Site from A Long, entry after the utility — with a pinch through A Sewer so Tower can't pre-aim both.
- 1Main entry path (goes after utility, not before)
- 2Second-man pinch to split Tower's crosshair
- 3Shock Bolt target — #1 entry death spot on A
- 4Hold second Shock Bolt for the rotate through here
C execute and the post-plant that actually holds
C is where Sova's post-plant kit is worth the most, because the retake funnels are narrow and predictable. Plant default on C Site, then take a Shock Bolt lineup onto the plant from deep C Long: two center-mass bolts land 75 + 75 = 150 damage, which is exactly a full-HP, heavy-armored defuser. Learn one lineup for the default plant and one for the C Cubby-side plant and drill both in range until the bounce count is muscle memory. For information after the plant, the arrow you want is fired from the back of C Site next to C Link with zero bounces and about two bars of power — it catches high on the structure above C Long and watches the retake path from C Lobby side without you having to peek it. Hunter's Fury matters more here than anywhere else on Haven: the walls between C Long, C Site, and C Garage are thin lines you can cover with all three blasts, and each blast reveals as well as damages, so even a whiffed ult tells four teammates exactly where the retake is coming from. Set your post-plant so a defuser is caught between someone in C Garage and someone deep in C Long. If your team keeps dying to the same C Window angle round after round, that's a setup problem — you're stacked on one chokepoint instead of crossfiring the site.
C execute and post-plant: hit through C Long, plant default, then hold crossfires from C Garage and deep C Long with the info dart fired from beside C Link.
- 1Primary C execute path
- 2Repeat retake death angle — clear or shock before planting
- 3Shock Bolt post-plant target: 75 + 75 = 150 dmg on a full-armor defuser
- 4Second post-plant angle — creates the crossfire with deep C Long
Defense: dart for the rotate, and stop spending retake utility on pre-round angles
On defense, Haven punishes lone holders, and Sova's value is telling four teammates which of three sites is real before the spike is even out. From A Tower you can dart down into A Lobby early for a body count; from around C Garage you can watch C Long. But the discipline point is the one most Sova players get wrong: the free arrow you fire at 1:38 to check A Lobby is not free anymore — at a 60-second cooldown, spending it pre-round means you retake A Site with nothing but a rifle. Retake utility is worth more saved. Hold your Recon until the attackers commit, then use it into the site they took so the retake starts with everyone knowing where the post-plant players are sitting. The high-value defensive lineup to own: from the elevated ledge in A Garden, two bounces with two bars of power off the structure covering B Site drops a dart at the back of B Site, and aiming slightly higher with the same bounce count lands it at the front. That's a full B scan without ever leaving A — the exact arrow that lets your team commit to a rotate through A Link instead of walking into B Back blind. On defense, one Shock Bolt held for the plant spot is almost always better than one thrown at a lurker you already heard.
Defensive Sova: early read from A Tower, the A Garden two-bounce dart into B Site, and retake info saved rather than spent pre-round.
- 1Early body-count dart down A Lobby
- 2Firing position: two bounces, two bars, off the B Site structure
- 3Dart landing area — front and back scans from the same spot
- 4Rotate you can commit to once the dart lands
Economy and the mistakes that cost you rounds on this map
Your signature costs zero credits, and that changes your buy math more than most agents'. Round 1 pistol: Classic, light armor (400), and two Shock Bolts (300) leaves you 100 credits and still gives you a full Recon — you do not need the drone to win a pistol on Haven. Round 2 after a lost pistol is the actual economic test, not the pistol itself: check whether more than one or two teammates can afford rifle-plus-armor before anyone types 'force.' If they can't, save fully — and understand that a full save with Sova still has a dart in it, so an eco round here should never end 5-on-5 with zero picks. Fire the free Recon into A Long or C Long, let it bait a defender into peeking to shoot it, and take that one trade fight with numbers. Your real full buy is around 4600 (Vandal 2900 + heavy armor 1000 + drone 400 + two bolts 300). At 3900–4300, drop the Owl Drone, never the Shock Bolts. Two more habits to break: don't fly the drone from Attacker Side Spawn at 1:38 — it's audibly louder since 11.00, enemies hear it watching them, and you've announced your side of the map for 8 seconds of nothing. And stop dying with the bow out in the open in Mid Courtyard; charge your arrow behind the wall, step out, release, step back. A Sova who trades his own life for a dart handed the enemy a 5-on-4 in exchange for information nobody's alive to use.
This is generic.
Want it for your own games? Enter your Riot ID and your coach will review your actual matches on Haven— not just the general playbook.
Enter your Riot ID