Viper on Icebox
Icebox is the most vertical, cover-dense map in rotation — almost no position has a clean, uncontested sightline, which makes it the one map where a smoke controller's damage-over-time utility matters more than a one-time vision block. Viper doesn't just clear space here, she poisons it: Toxic Screen and Snake Bite both punish anyone who walks through them for the full duration, which changes retake math in a way a Brimstone or Omen smoke never does. The real skill ceiling on this agent is setup discipline — her wall and orb are both most valuable pre-placed before a fight starts, not thrown reactively once bullets are already flying, because her kit's total uptime is limited by her own health bar (Toxic Screen and Snake Bite both drain her HP while active) and she can't afford to burn that resource twice in one round.
Attacking A: Snake Bite the Nest, wall from Belt to Site
A Nest and A Rafters are the two positions that punish a slow, uncommitted execute — anyone dug into Nest holds a crossfire onto both the Belt approach and the site itself, and Rafters watches the top of the execute lane. Snake Bite is the tool built to solve Nest specifically: throw it to land inside the nest itself so anyone holding it either repositions into the open mid-execute or eats the full damage tick, not a quick poke that clears the angle for two seconds and lets them walk back in. Your wall belongs across A Belt into A Site, not further back — this is the connector defenders actually rotate and reinforce through from Mid, and cutting it turns a two-front defense into a one-front one for exactly the window your team needs to plant. Sequencing matters here: throw Snake Bite first, since it takes a moment to bloom and you want the damage zone established before your entry walks past it, then drop the wall as your team is already moving so the smoke timing lines up with footsteps, not a pause. Molly A Screen only on confirmed information — a Cypher cam ping, a body seen, a trapwire trigger — because an empty Screen molly means you've executed into site with zero remaining utility and a live defender still holding Rafters unaccounted for.
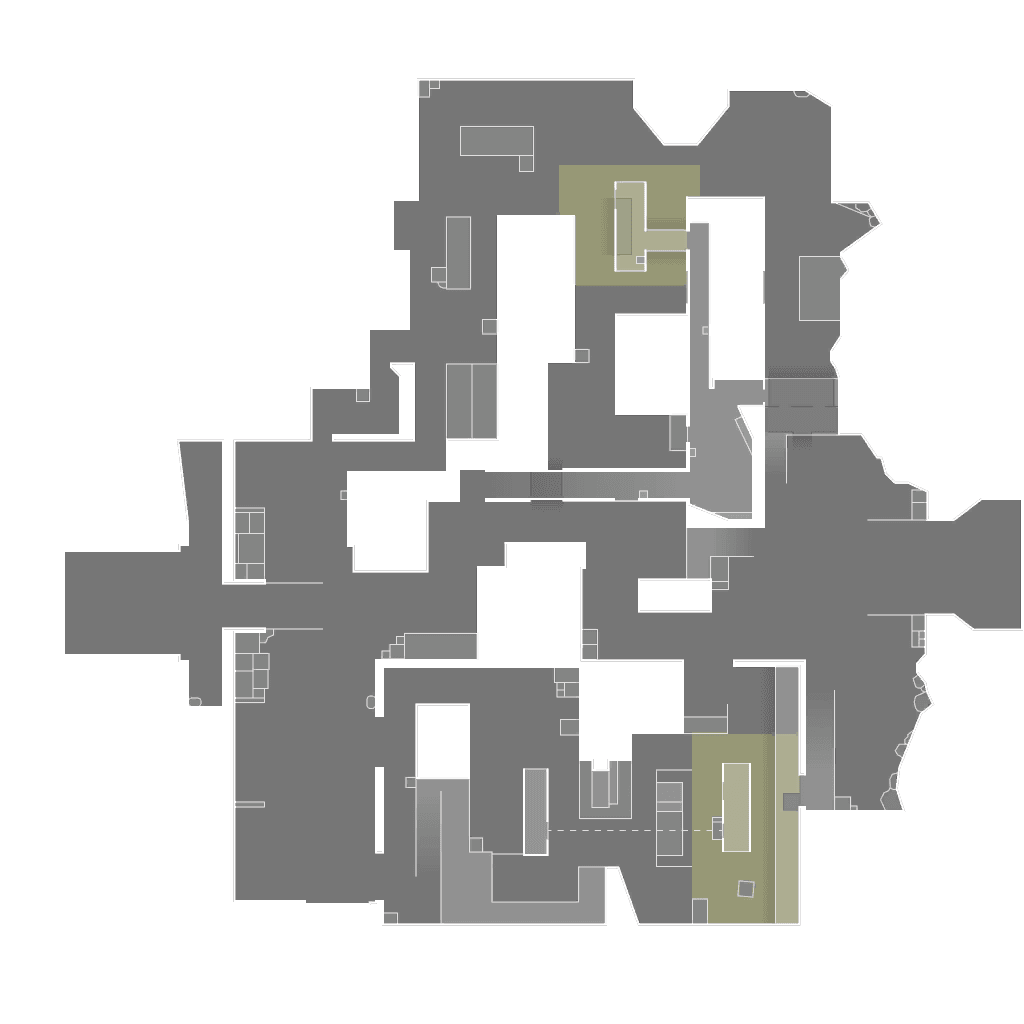
Snake Bite lands in A Nest, wall cuts A Belt into A Site.
- 1Snake Bite — full duration on the crossfire angle
- 2Toxic Screen — cuts the rotate/reinforce lane
Attacking B: the wall goes at Yellow, never on Site itself
The instinctive B execute walls off B Site directly, which is backwards — it blinds your own entry as much as the defense. Instead, wall across B Yellow into B Green: this is the actual retake and reinforcement route from Mid and B Hall, and denying it forces anyone rotating to either eat damage crossing the wall or take a much longer path around, buying five to ten real seconds where your team can plant and set up post-plant crossfires uncontested. Snake Bite goes on B Hut specifically when it's confirmed held — it's the one position on this half of the map with sightline onto both the plant zone and the B Hall approach simultaneously, which makes it worth more than any other single molly target on this site. Because B is a shorter, more enclosed space than A, timing is tighter — a wall dropped too early gives the defense time to reposition around it rather than getting caught mid-rotate. Hold the wall until your team is staged and ready to move as a unit, not the moment you round the corner from Mid.
Wall across B Yellow to B Green; Snake Bite on B Hut if held.
- 1Toxic Screen — the retake choke
- 2Snake Bite — only if confirmed held
Defending: Mid Pallet is the round-winning choke, not a formality
Icebox's chokes are narrow enough that a well-timed Snake Bite doesn't need a kill to win the round outright — it just needs to make the attacker's execute clock worse than your rotation clock. Mid Pallet is the single most valuable defensive molly target on the map, because it's the connector both sites' attacks funnel through when the initial push stalls; drop Snake Bite there the instant you hear footsteps or an ability cue, not after you've visually confirmed bodies, since the damage-over-time still punishes anyone standing in it when your teammates arrive to trade. Hold your wall for information denial on whichever site you're anchoring, using it to block the exact sightline attackers need to clear before committing utility — a wall dropped a half-second before an entry peeks is worth more than one dropped as a passive habit at round start.
Post-plant and retakes: Pit is a delay weapon, spend it deliberately
Viper's Pit ultimate needs real setup time and covers a large area with sustained damage and reduced enemy vision — which makes it the single best tool in the game for making a retake or post-plant hold survivable when your team is outnumbered or your utility is already spent. Don't hold it forever waiting for a 'perfect' moment; the highest-value use is almost always dropping it onto a site you're actively about to lose, timed so it lands after the attacker's own flashes and smokes are already used, since Pit denies vision back at them just as effectively as it denies vision to your team's approach. On the attacking side post-plant, a saved Toxic Screen or Snake Bite thrown mid-defuse onto the primary retake lane (A Belt for A, B Yellow for B) forces the retake to happen blind and on a clock they can't extend — this is usually worth more than spending both pieces of utility during the execute itself.
Economy: Viper is cheap to keep online, use that
Viper's kit (Snake Bite and Toxic Screen) is inexpensive relative to a full duelist loadout, which means she stays functional even on a half-buy or a bonus round after an eco loss — don't skip her utility purchase to stretch for a rifle you can't fully support with armor. The doctrine principle that matters most on this agent specifically: a wall or Snake Bite thrown without a plan for what it accomplishes is wasted economy exactly the same as a wasted flash, so treat her utility purchase as mandatory even when the round's gun budget is tight. The most common mistake watching Vipers lose rounds on Icebox is symmetrical to the wall-placement error above — throwing the wall reactively once a fight has already started, rather than pre-planting it as part of the setup. A reactive wall thrown mid-firefight blinds both teams equally and wastes the one resource that was supposed to give your side the advantage.
This is generic.
Want it for your own games? Enter your Riot ID and your coach will review your actual matches on Icebox— not just the general playbook.
Enter your Riot ID